Showing posts with label WIP. Show all posts

Tuesday, July 12, 2011

MC Hi-Nu Gundoom WIP Part 2 Revised

Not much to say around here parts, just that I got so frustrated with the pla-plates (0.3mm) I gave the right forearm another shot.

 So there you have it...I dunno If you can see it that well

plated over the damaged part, then add a few small bits 
of 1mm and a portion of cable tie XD lame idea came the last minute.

Saturday, June 18, 2011

MC Hi-Nu Gundoom WIP Part 1

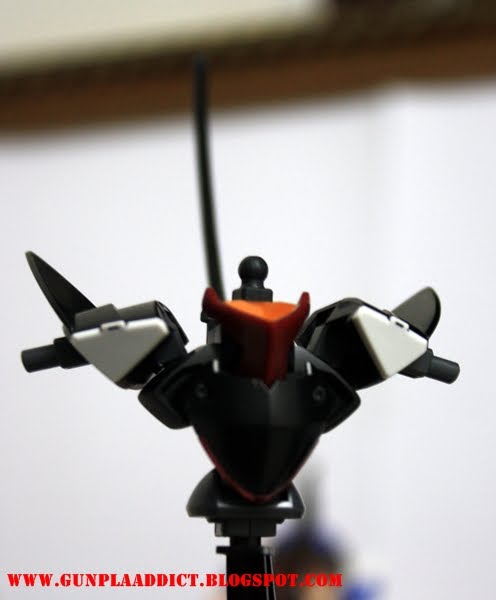
When the Sarge is done for the entry, I thought I'd give this new... (I dunno whether you wanna call it a bootleg or not, but it looks way cool than the original) kit a chance to shine with a new addition pla-plates and a brand new art/craft knife. After analyzing through and through about the kit, I started out with the shoulder.

Very Tedious job these....

I measured the top angle and the bottom of those middle space
and measure it onto the plate, which is very hard to do, since the plate
does move a lot, especially when you have greasy fingers!

And that's just the shoulder pads!

I'm winging it on those side plates, made sure they were of the right 
rectangular side.

And on that side too... the yellow thing down there is the new art/craft knife,
with a dozen blade spares that can be put inside the yellow canister!
Oh.. rubber grip... I like XD

This is the sword forearm, I kinda wanna do the trapezium shaped,
but thanks to my greasy hands the measurement was F***ed and in the end I 
made it look like stone steps going uphill in a village.. =.='

the scribbling sucks, I pressured that line to make it visible. *mind note* next time, make it subtle!!

This was kinda easy/not easy to make, since I have to scale it down.

And... Last but not least...

Nothing related, this is one of those day when you are having a
 break and crazy thing comes to mind XD XD XD


Wednesday, November 17, 2010

PG OO WIP pt.1

Heres what I've done so Far with the commission work.

Too lazy to scan the manual, I guess we can take a look at Dalong's web page, if he made any PG OO.


 Evidently here, I've wasted my time erasing the seam line,
because these part are hidden.. =.='

 Sealed, and topcoated...

 Before top coating.

You can see the difference here...

 And the shoes!

Can you guess how many parts to make one shoe unit?

Ignore the nubs... they're not be seen either..

Along with the rest.

 baby shoes!!

 I wonder if I can create baby shoe design out of these...

 Cute eh?


Thursday, August 12, 2010

Masurao WIP part 2... & the nightmare begin


Lets start off with something simple... and on to every gunpla nightmare.... *SNAP*


The hands have got some nice variation..


I kinda like the color mixing here


As it is...


That pointy thing there was kinda hard to 
taped everything around it.


The ugly side...
.
.
.
.
.
.
After much time wasted on drinking sodas & watching animes..


I'm proud he is done...
time for some posing pictures


And then... this happen...


This round joint suddenly snapped off my big clumsy hand


:'(


I share his pain...


....

So fellas... If there is anything you can help me with, please let me know, I'm keeping him back in the box until I can find some answers on how to fix it.


Masurao WIP part 1

Hey Fellas,

It's about time that I build Bandai kit again, So I started out with My only HG at the moment which is Masurao. I don't fancy HG that much because it's much too small for my hands to mod, carve OR let alone paint, but at this point, Masurao is kinda appealing to me and I decide to try it out.


1st thing 1st, I look for the base stand LoL


A little primer and matte black, looks cool


I can't figure out why the back unit looks like a fan...


One of the reason I don't build HG much.
How am I gonna paint the eyes...
My hands are too big.. LoL


Yup, RX came to annoy him as well...

Sunday, June 27, 2010

Master Gundam W.I.P part 1

One of the great pending of mine is one of my favorite (I dunno why) with it's complicated parts and joints... I think...

I clearly remember on the box that there was another version... with a cape.

Like I said.. pending...

This has to be done carefully tho, I had to follow instruction in a very detailed manner, but in the end, there's always "Oh F***!! wrong part!!"


You thought it was simple...


I'd like to think so, but unfortunately... excellent movement though...


This is ok enough... NOT! that hanging suspension always falls off when turned to different angle.


What interests me, is that even at a slanted angle, the joints can stay together balanced, I did the tip-toed pose here, and it stood perfectly.

Reason for pending: Work.. =.='